/
Printing Rubrics in Internet Explorer
Printing Rubrics in Internet Explorer
Introduction
Staff wanting a hard copy of rubrics for students or moderators may experience problems printing accessible versions because of the amount of information displayed by the rubric tool.
Note:
The following instructions are for Internet Explorer only.
Table of contents
Printing Rubrics
- From the Control Panel in your module area select Grade Centre. You will see a spreadsheet of all the items and students in the module. Each test, survey and assignment is automatically added to the Grade Centre as new column.
- To view an individual’s grade and rubric, hover your cursor over the relevant cell and select the down arrow. From the drop-down contextual menu that appears, select View Grade Details.
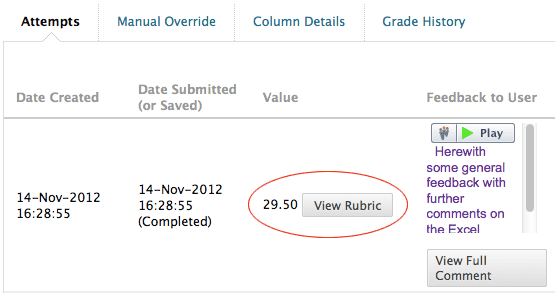
- On the Grade Details page that appears select the View Rubric button
The Rubric Detail window will open. Right-click anywhere inside this window and from the drop-down menu select Print Preview...
Tip:
DO NOT select the Print... option.- When the The Print Preview window opens, select the Landscape mode button:
- Select the Page Setup button: .
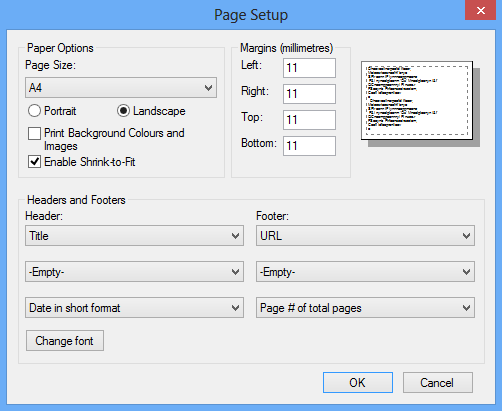
- The Page Setup window will open:
- Enable the Print Background Colours and Images option.
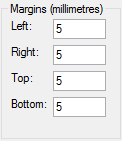
- Set all the Margins to the minimum your printer will allow. Try 5 millimetres to begin with.
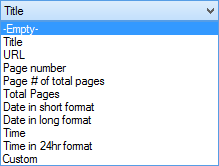
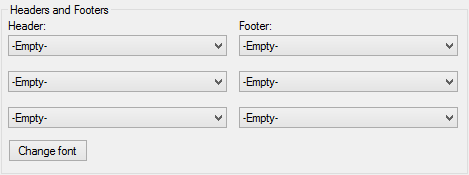
- Set all the Header and Footer options to Empty using the drop-down menus:
- The Header and Footer options should look like this:
- Select the OK button. This will take you back to the Page Setup window.
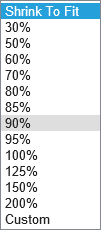
- Select the Shrink to Fit option.
- From the Shrink to Fit drop-down menu experiment with the scaling options until you find a size that is the best compromise between Text size and the number of pages the rubric is being printed across.
Tip:
80% to 90% seems to be the best option for printing most rubrics.
Video Instructions
, multiple selections available,
Related content
Turnitin's rubric feature
Turnitin's rubric feature
More like this
Creating rubrics for Blackboard assignments
Creating rubrics for Blackboard assignments
More like this
Blackboard Learn Rubrics
Blackboard Learn Rubrics
More like this
Offline assessments using Blackboard Learn Ultra
Offline assessments using Blackboard Learn Ultra
More like this
TurnItIn's Rubric Feature
TurnItIn's Rubric Feature
More like this
Guide to using the Blackboard Grade Centre
Guide to using the Blackboard Grade Centre
More like this
