...
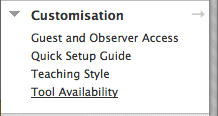
- Select the Customisation link in the Course Tools menu.
- Select the Tool Availability link.

- The Tool Availability page will open. Scroll down the page and select the Available checkbox to the right of Enhanced Group Management Tool.


- Select the Submit button to save your changes.
- The Group Management tool will now be available under Course Tools.

Using the tool
...
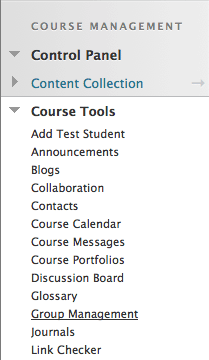
- Go to the Control Panel.
- Select the Course Tools link
- Select Group Management. The Group Management window will open.

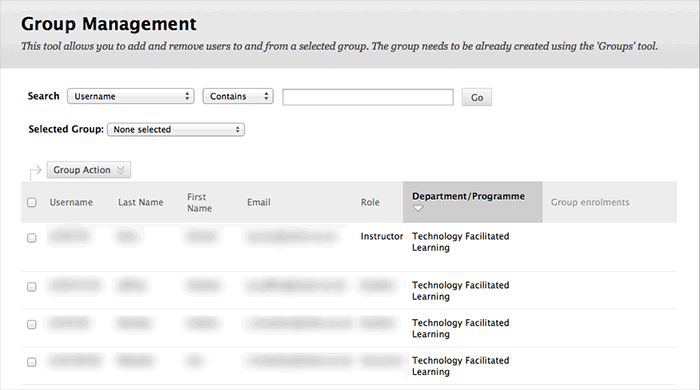
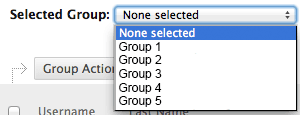
- Select your Group Name from the Selected Group Box.

- Sort the Department/Programme Column by clicking on the Department/Programme Column column heading - this allows you to collate together those students studying the same Programme.
- Select your Students from the list by selecting the check box to the left of their Username.
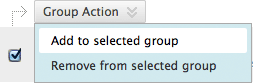
- Add Selected Students to User Group - By selecting Group Action and choosing Add to Selected Group from the drop-down menu.

Using the groups you’ve created
...