...
- Select the set list icon from the side navigation bar and select the set you would like to use.

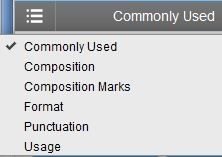
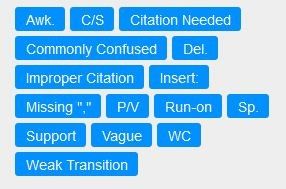
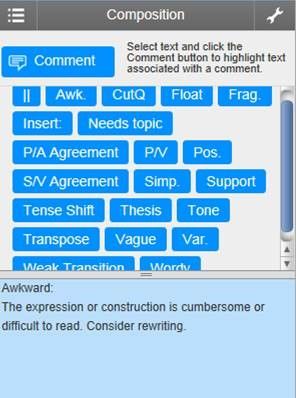
- A list of related QuickMarks stored under the Set name will appear.

- To view the content of the QuickMark, hover over the comment to view the content of the comment.
The content is also visible in the bottom panel when hovering over the comment.
- To reuse a QuickMark comment, select the comment from the list and drag it onto the area of the paper you want to place it.
...
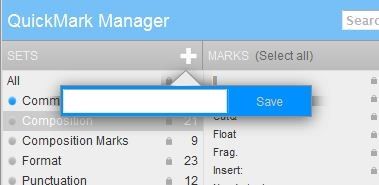
- Select the QuickMark Manager icon from the sidebar.


- Select the '+' icon which is located to the right of the SETS column header.


- Enter the Title for the new set and Select Save.

Saving QuickMarks Comments to your Personal Set
While marking a student's submission, click beside the text that you wish to comment on. The Comment Box will appear. Enter your comment in the provided space.

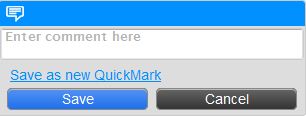
To Save the Comment as a QuickMark for future reuse, select Save as new QuickMark.


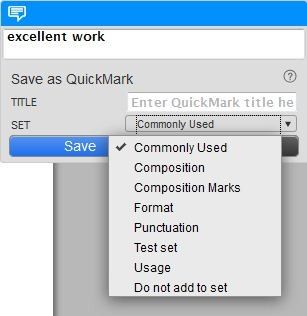
Enter a TITLE and select the Name of your Personal Set. Select Save.

Setting your Personal Set as the active QuickMark Set
...
- Select on the QuickMark Manager icon.
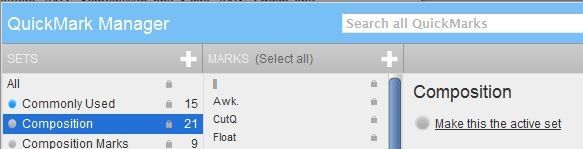
- The active set has the blue circle next to it. Select the name of your Personal Set you want to use.
Select Make this the active set link in the far right column, under your Set Name.

- Select Close when finished.


Quick Mark Manager
Editing a QuickMark Comment
To edit a QuickMark comment:
- Select the QuickMark Manager icon
- Select on the name of the Set containing the QuickMark to edit.
Select the name of the mark you would like to edit.
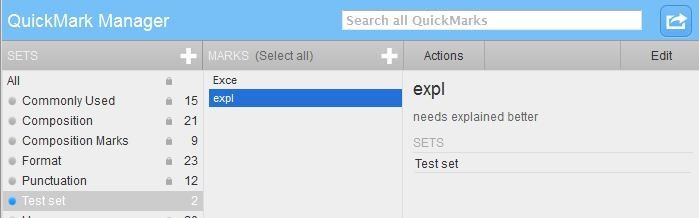
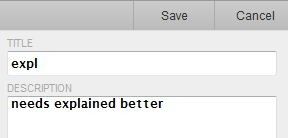
Select the Edit button.


Info If a lock icon appears this means the mark cannot be edited as this is either a shared mark or provided by TurnItIn and cannot be changed.
- Make the necessary changes and select Save to store the changes made.

Archiving or Removing a QuickMark from a set
To remove a QuickMark from a Set:
- Select on the QuickMark Manager icon.
- Select the Name of the QuickMark Set. Select the QuickMark you wish to remove from the Set.
Select the Actions link and select the Other button.
- Select Remove from this set option.

...