You can add images to the Course banner for each module. It is possible to add images that are hosted online or you can upload an image from your local device. However you choose to add an image, you will always be prompted to name your image and add a meaningful alternative text description for visually impaired individuals, screen readers or instances where the image fails to load.
Add a course image
In the menu under Details & Actions, click Edit display settings

Select the image icon at top of the pop out window.

the text editor select the Image button.
Only JPEG and PNG files can be uploaded into the text editor.

The default option is to upload images from your device.
After you’ve chosen an image to insert, select Next.
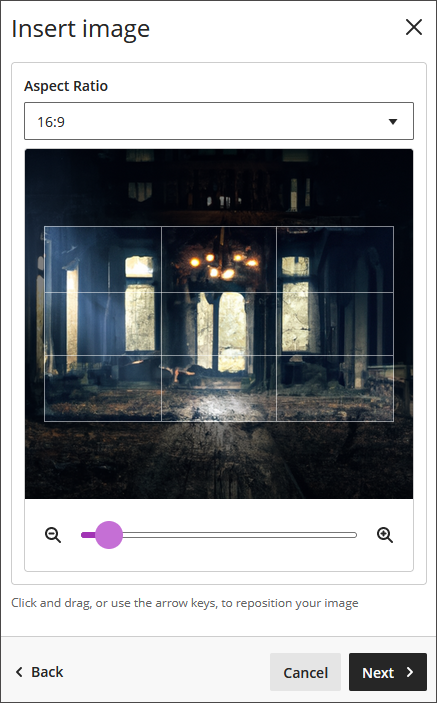
You can now customize how the image appears in the text.
Click Next when you’re ready to insert the image.
Edit the file options in the image editor (see below):

Display name: Enter a name for the image.
Alt text: Enter a meaningful alternative text description of the appearance or function of the image here for visually impaired individuals, screen readers or instances where the image fails to load.
View and download: Default - so students can download the image if they wish.
By default, users can view and download the image.
Add an image as an attachment
Within the rich content editor, select the paperclip icon.

Choose the relevant image from your device to upload.
Edit the file options (display name, alt text, view and download) in the image editor.
To display the file options for an image, right click on the image to open the image editor.
Check image accessibility
When you add an image in the rich content editor, use the Ally (Ultra Accessibility Checker) before saving your content item. In the editing toolbar, the Ally accessibility indicator (or score) appears to the right of the image. The score displays as a dial in different colours ranging from red (low 0%-30%) through to green (perfect 100%). Click the dial for tips to improve the accessibility score if it is low:

Ensure you always include alternative text description in the file options for your image. You can add this by right clicking on the image to open the image editor.
Adding alternative text descriptions
Ally provides 7 best practices tips to write good alternative text descriptions for your images:
Describe the image based on the page context. Convey the full meaning of the image.
Avoid saying "image of" or "picture of". Screen readers automatically announce images as images.
Be concise.
Write narratives for complex images like infographics. Put this narrative on the page immediately following the infographic. Include an anchor link at the top of the page to view the text alternative. See an example of an infographic with a text alternative.
Avoid images of text. If you can't avoid it, copy the text into the alternative description.
Say something new. Don't repeat alternative descriptions on the same page. Don't repeat what is already said on the page.
Identify images that don't represent relevant content as decorative.
If you have added an image that is either described in the text, or is simply decorative, you can use Blackboard Ally to mark an image as decorative, which will indicate to screen readers to ignore the image.