The Interaction Bar - My Status, Share Audio, Video and Raise Hand
Introduction
The Interaction Bar consists of icons for:
- My Status and Settings
- Share Audio
- Share Video
- and Raise Hand
It is one of the most important areas of the Blackboard Collaborate Ultra workspace, as from here, moderators can share audio and video, control session settings and provide feedback.

Table of contents
My Status and Settings
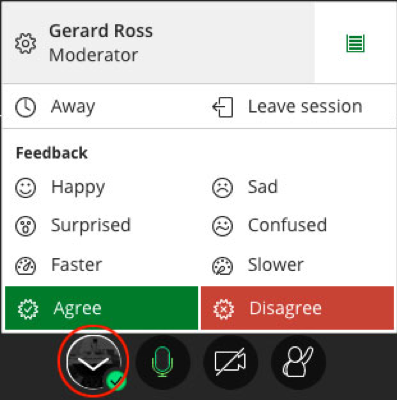
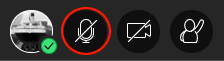
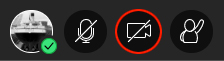
Selecting your profile image at the bottom of the screen (highlighted with the red circle below) opens the My Status and Settings panel.
My Settings
To open the My Settings link:
- Select your profile image:
- Select the My Settings icon (highlighted in red below)
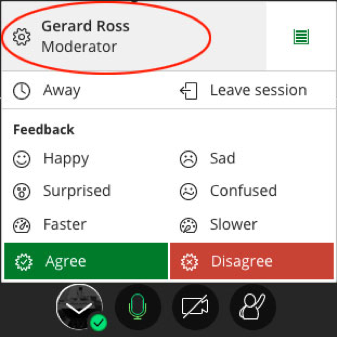
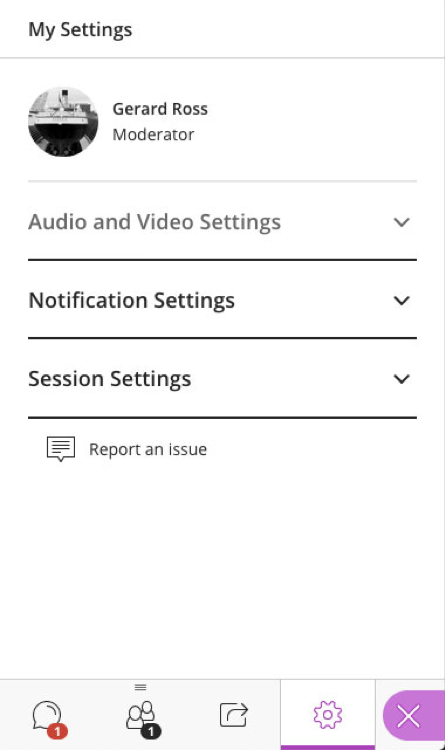
- This will reveal the Collaborate panel and opens the settings for the session. From here the Moderator can change the Session Settings, Audio and Visual Settings and Notification Settings. (More information on the Collaborate Panel can be found on the Collaborate Panel page)
Attendance Status
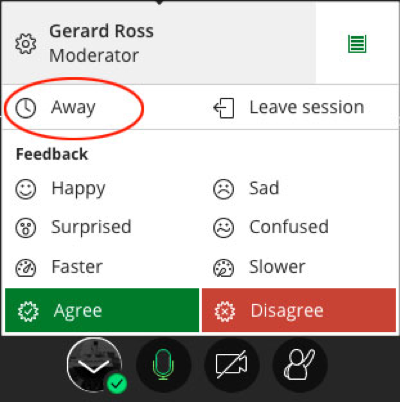
Using the Attendance Status button, Moderators can quickly toggle their status from Available to Away. It’s a useful way of letting participants that you’ve been pulled away from session and will be unable to respond. Your audio will be muted while you are away and reenabled when you re-join the session.
- Select your profile image:
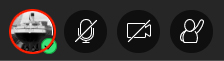
- Select the Attendance Status button (highlighted in red below) to toggle your status between Available and Away.
- When you toggle the Away button the following will be seen on screen:
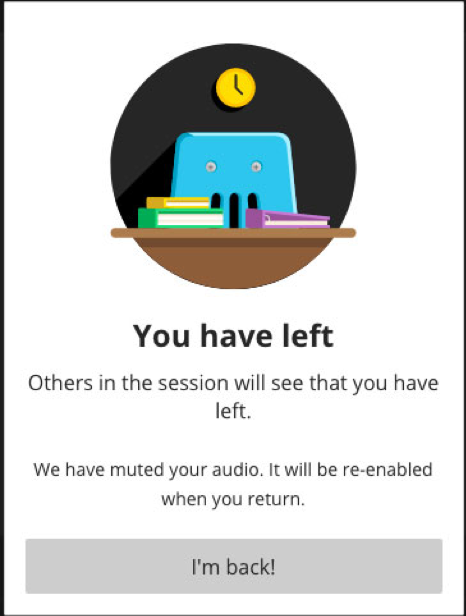
- Selecting the I’m back button will send an alert to all participants that you have returned.
Instant Feedback links
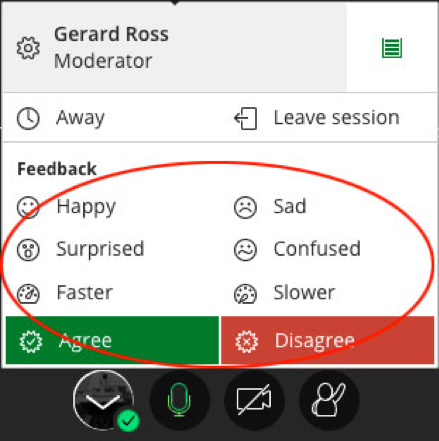
The Instant Feedback links are a method of providing quick on-screen feedback to Participants. The feedback options are, Happy, Surprised, Faster, Slower, Sad, Confused, Agree and Disagree.
- Select your profile image:
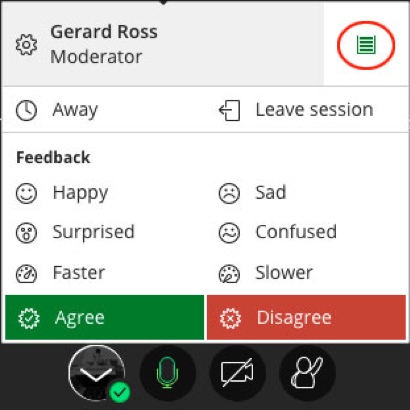
- Select any of the Instant Feedback buttons (highlighted in red below) to provide quick feedback on the session.
- When you select an Instant Feedback link a Feedback icon is displayed to all participants next to your profile image. For example, if you select the Happy instant feedback button, a smiley emoticon is displayed:
The Feedback icon will disappear automatically after 30 seconds.
Network Status link
The Network Status link is a useful on-screen tool for diagnosing connection issues. Just like your mobile phone, the stronger your network connection the more bars you will see, the slower your connection speed the fewer bars you will see. The Network Status link is also colour coded. Strong connections will be shown in green, while weak connections will be amber or red.
To check your current Network Status:
- Select your profile image:
- Roll your mouse pointer over the Network Status link (highlighted in red below)
And a detailed Network Status panel will become visible:
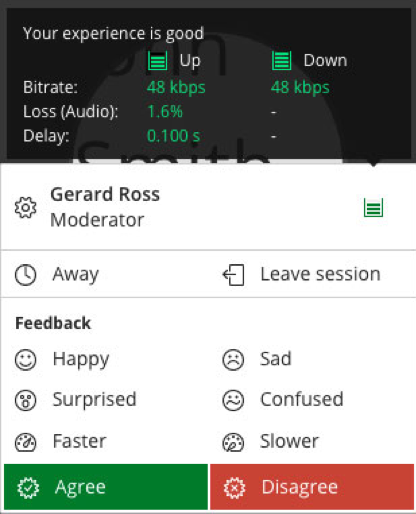
Note: The faster and more stable a Moderator’s network connection is, the better the Participant’s experience will be. Slow connection speeds can cause sound and video playback issues and may cause issues when application sharing.
Leave the session
This link allows the Moderator to quickly leave the session.
Note: When the last Moderator leaves the session, it will end the session for all Participants and any recording will end.
- Select your profile image:
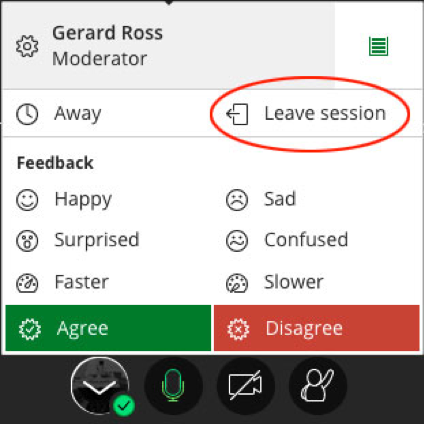
- Select the Leave Session button (highlighted in red below) to exit from the session.
Share Audio
Moderators and Participants can control whether their microphones are on or off during a session. The microphone button toggles between Share Audio and Mute Audio (microphone OFF and ON). 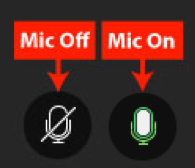
The microphone button is only enabled if a microphone has been plugged into the computer and configured for use. To minimize audio traffic in a presentation, Blackboard Collaborate Ultra allows only five users to have their audio active simultaneously.
To share your audio:
- Select the Share Audio button (highlighted in red below)
When audio is enabled, the Share Audio icon also shows the relative volume level of the participant's audio. When speaking the share audio icon shows a white audio level bar that rises and falls, consistent with the rise and fall of the speaker’s voice. e.g.

Important: When you first enter a session, your microphone will be disabled by default, select the Share Audio button to turn your microphone ON.
Tip: If the audio bar is permanently white while speaking, your microphone volume may be too high and should be lowered.
Tip: Windows users connecting a USB microphone/headset to their computer should allow some time for Windows to download and install the drivers needed for their USB device to work. One of the common causes of the, “my microphone wasn’t working, now it is” issue, is because the computer was still downloading and installing drivers in the background. Allow some time (1 to 2 minutes) before starting the session for any device drivers to download and install.
Tip: Moderators may wish to ask Participants to keep their microphones muted until they need them to speak and to select the Raise Hand icon to be recognized before speaking. Moderators also have the ability to mute all Participant microphones. This option is especially useful if one of the Participants has accidentally left a microphone on or is working in a noisy environment.
Troubleshooting Audio
If participants have trouble communicating via microphone or hearing session audio, they may be able to troubleshoot the problem:
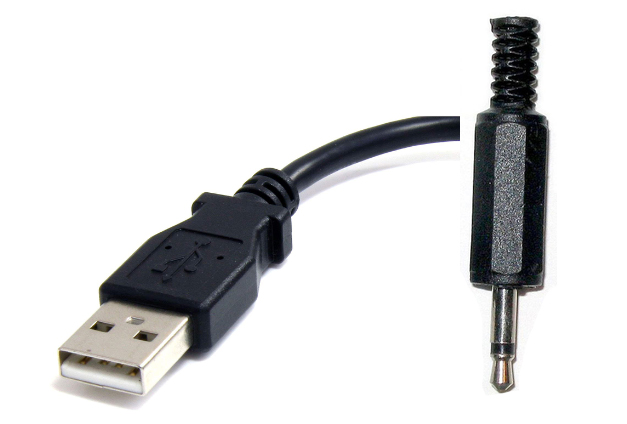
- Does the participant’s computer/device have speakers or an audio output device? University desktop computers tend to not have built-in speakers, so participants will need some form of USB headset/speaker or device with a 3.5mm audio connector in order to hear the audio from a session.
- Is the headset plugged in?
- Have the USB drivers for the headset finished installing? (Windows users only)
- Is there a mute switch engaged on the headset?
- Is the computer’s audio muted or very low?
- Close any applications that may also be using the system audio e.g. Skype for Business
- Is the participant using the audio input device that Blackboard Collaborate Ultra is configured to recognise?
- Is there an echo when a participant is speaking? This may result from two or more users in close proximity in the same physical room - the user’s voice may be coming through two or more microphones.
- Is there feedback ‘howl’ in the session audio? This can happen when the microphone and audio output devices are too close together. Put some distance between the microphone and audio output device to reduce this noise.
- If a laptop user has a low/constant hum evident in the background of their audio, try disconnecting the laptop charger and see if this reduces the hum.
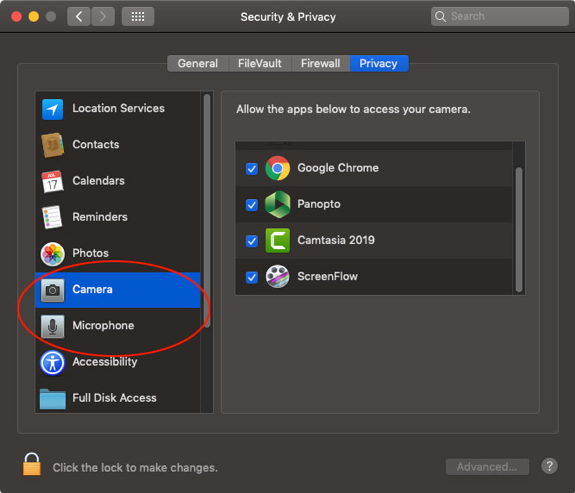
- The latest versions of macOS, requires users to give the Microphone access to their browser. This is done via System Preferences > Security and Privacy > Privacy Tab and selecting the Microphone option:
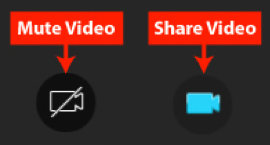
Share Video
The Share Video button toggles between Share Video and Mute Video. By default, video sharing is turned off when the moderator first joins a session.
Multiple participants may have video and audio turned on. Collaborate is set up to display the video image of the current active speaker. There is usually a short delay before the video switches to the next speaker.
To share your video:
- Select the Share Video button (highlighted in red below).
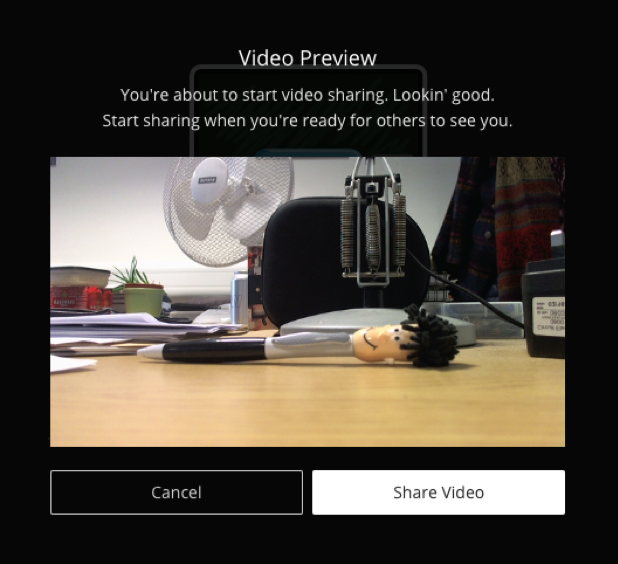
When the Share Video button has been selected, Blackboard Collaborate Ultra provides a preview screen to verify that the camera is working.
Tip: Participants can Share/Mute Video using their keyboard. The browser shortcuts are (with the browser window active): Alt + C (Windows) or Option + C (macOS)
Troubleshooting Video
If participants have trouble sharing their video, they may be able to troubleshoot the problem:
- Is the webcam plugged in/enabled?
- Has the camera been covered with something? e.g. a lot of staff choose to cover their webcams with post-it notes.
- Have the USB drivers for the webcam been installed? (Windows users only).
- Close any applications that may also be using the video e.g. Skype for Business.
- The latest versions of macOS requires users to give the Camera access to their browser. This is done via System Preferences > Security and Privacy > Privacy Tab and selecting the Camera option:

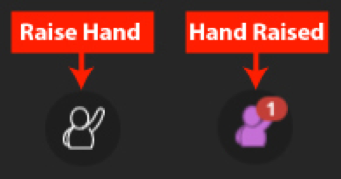
Raise Hand
Participants may raise a virtual hand via this icon to indicate a question or concern, and then lower it with the same icon.
Participants can raise their hand by:
- Selecting the Raise Hand button

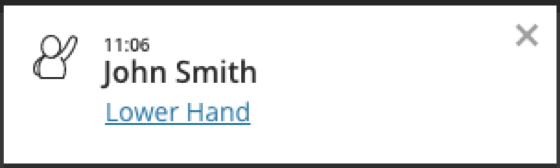
A Raised Hand notification will show on the Moderator’s screen:
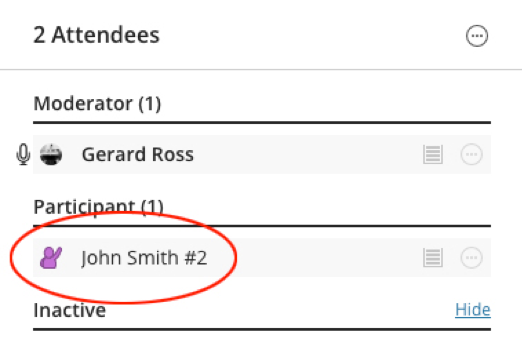
- And a Raised Hand icon will also appear next to the Participant’s name in the Attendees list:
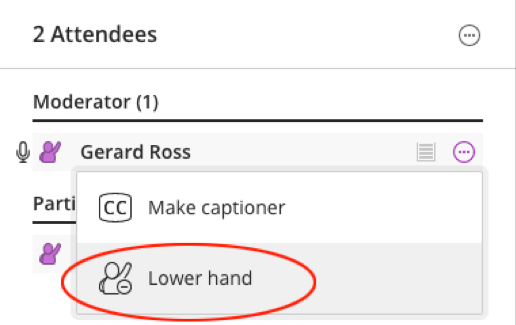
- A Moderator may also lower a participants hand using the Options menu on the Attendees pane.